Recycler View Part - I
The first thing that anyone would expect from an android intern.


So we see these lists everywhere in any kind of app. In your social media, there will be list of followers, list of stories, list of posts, list of people you may know, list of dry texts in your inbox or even the list of peoples that ignore your messages.
But what they are in somehow similar but different, right?
The list of stories you see are all the same view or component which are reused as per the number of data.
The posts you have in your instagram wall are all the same component, they're just repeated.
So we can come to a conclusion that just make ONE view and REPEAT it to the number of or size of data we got from any kind of source.
Let's make a recycler view that shows a scrollable list of Names of Cities
Steps
1. Make a RecyclerViewAdapter class
- Create a new java file in your working module as
SimpleRecyclerViewAdapter - Extend
RecyclerView.Adapter<SimpleRecyclerViewAdapter.ViewHolder>to your adapter
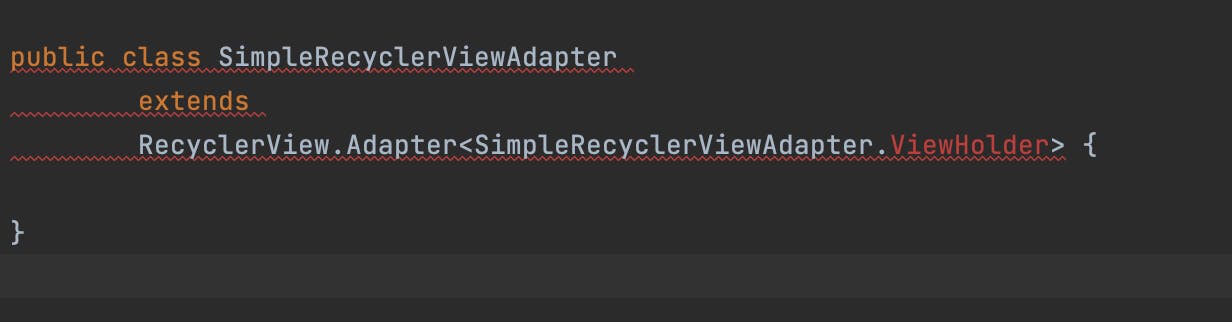
- You will get error which is a good start, now click above red
ViewHolderand press alt + enter (option + enter) which will show you some options, choose the 1st one like
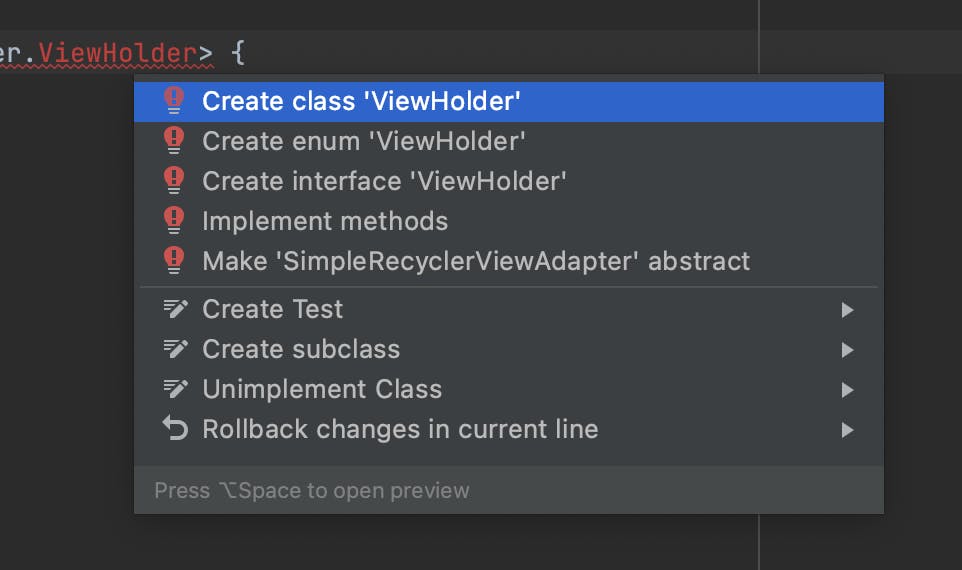
- After you select that, the IDE will create a view holder class automatically
You now just have to do the
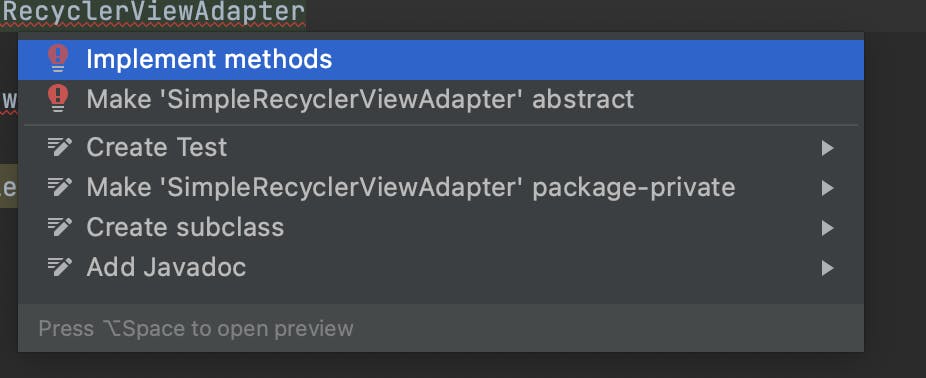
alt+entermagic everywhere you see the errorClick on the
SimpleRecyclerViewAdapterclass name that you created just before and doalt+enter- It will automatically ask you to
implement three methods. Press enter
Make sure you have three override functions inside your SimpleRecyclerAdapter
Now you will see error inside the
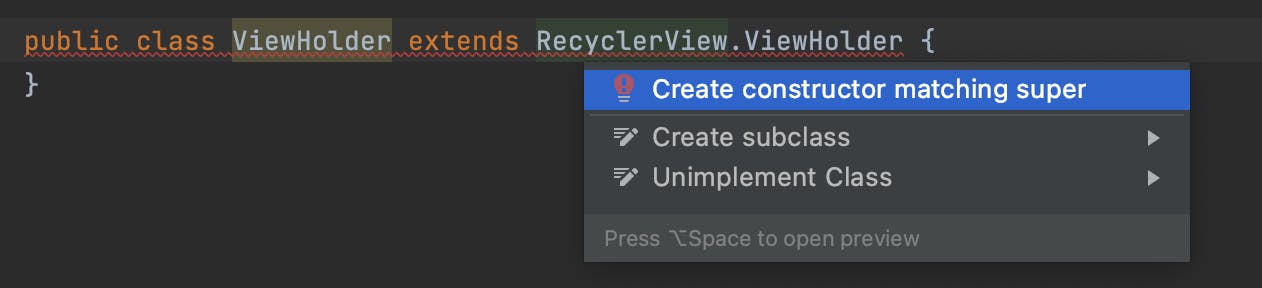
<SimpleRecyclerViewAdapter>then do the samealt+enterLastly you'll see error in your ViewHolder which will require the same
alt+enter
- After this step there should be no error in your RecyclerViewAdapter class and it should be something like this
public class SimpleRecyclerViewAdapter
        extends
        RecyclerView.Adapter<SimpleRecyclerViewAdapter.ViewHolder> {

    @NonNull
    @Override
    public ViewHolder onCreateViewHolder(@NonNull ViewGroup parent, int viewType) {
        return null;
    }

    @Override
    public void onBindViewHolder(@NonNull ViewHolder holder, int position) {

    }

    @Override
    public int getItemCount() {
        return 0;
    }

    public class ViewHolder extends RecyclerView.ViewHolder {
        public ViewHolder(@NonNull View itemView) {
            super(itemView);
        }
    }
}
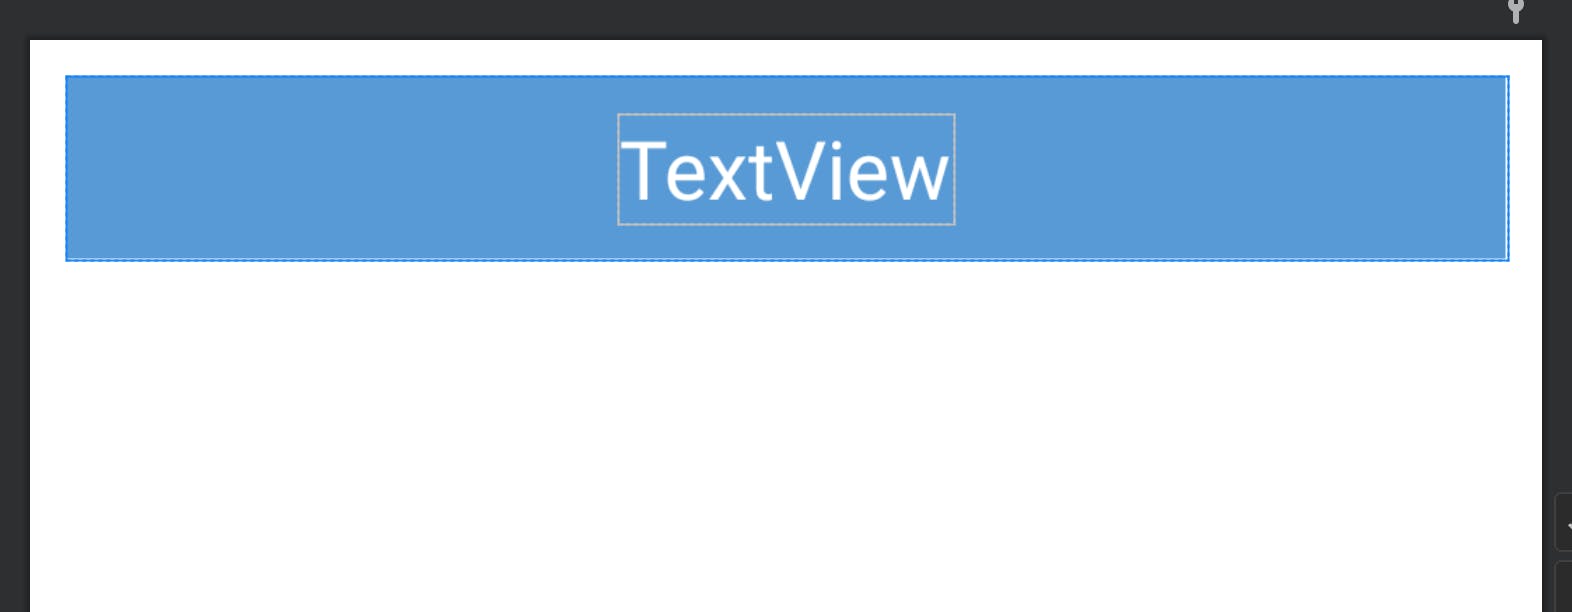
2. Making the layout file
Now let's make a layout file inside our > res > layout folder by right clicking on the layout folder make a new > layout resource file

Give it a name as layout_recycler_item and design something like this
<?xml version="1.0" encoding="utf-8"?>
<androidx.constraintlayout.widget.ConstraintLayout xmlns:android="http://schemas.android.com/apk/res/android"
    android:layout_width="match_parent"
    xmlns:app="http://schemas.android.com/apk/res-auto"
    android:layout_margin="10dp"
    android:padding="10dp"
    android:background="#579AD5"
    android:layout_height="wrap_content">


    <TextView
        android:textColor="@color/white"
        android:textSize="22sp"
        android:id="@+id/textView"
        android:text="TextView"
        app:layout_constraintBottom_toBottomOf="parent"
        app:layout_constraintEnd_toEndOf="parent"
        app:layout_constraintTop_toTopOf="parent"
        app:layout_constraintStart_toStartOf="parent"
        android:layout_width="wrap_content"
        android:layout_height="wrap_content"/>

</androidx.constraintlayout.widget.ConstraintLayout>
3. ViewHolder
Now come back to your adapter java class and see the three override functions.
One asks to return the ViewHolder One asks to bind One asks to getItemCount
Now for the ViewHolder one we need to attach the layout we just made as layout_recycler_item and return a ViewHolder object. To do that edit the function as
@NonNull
    @Override
    public ViewHolder onCreateViewHolder(@NonNull ViewGroup parent, int viewType) {
        LayoutInflater layoutInflater = LayoutInflater.from(parent.getContext());
        View view = layoutInflater.inflate(R.layout.layout_recycler_item, parent, false);
        return new ViewHolder(view);
    }
This creates the layout we just made and attaches it to the viewholder to return it.
4. ItemCount
Return the number of count of how many items you want in your recycler view. Lets put it as 30 for now.
 @Override
    public int getItemCount() {
        return 30;
    }
5. ViewHolder class
Remember the 1st error we had as red ViewHolder? That is now at the end of the file. Here its main use is to initialize the View from the RecyclerItemLayout (layout_recycler_item). We have to do findViewById here to get the fields that we need in our recyclerView to hold data.
Change it as
 public class ViewHolder extends RecyclerView.ViewHolder {

        TextView textView;

        public ViewHolder(@NonNull View itemView) {
            super(itemView);
            textView = itemView.findViewById(R.id.textView);
        }
    }
6. onBind
The middle override method onBindViewHolder binds the data to single recycler items. This binding is repeated 30 times because we have kept 30 as out count. So there change the code to bind each textView with a value
 @Override
    public void onBindViewHolder(@NonNull ViewHolder holder, int position) {
        holder.textView.setText(Integer.toString(position+1));
    }
This completes our work in Adapter class which as a whole will look like this
public class SimpleRecyclerViewAdapter
        extends
        RecyclerView.Adapter<SimpleRecyclerViewAdapter.ViewHolder> {

    @NonNull
    @Override
    public ViewHolder onCreateViewHolder(@NonNull ViewGroup parent, int viewType) {
        LayoutInflater layoutInflater = LayoutInflater.from(parent.getContext());
        View view = layoutInflater.inflate(R.layout.layout_recycler_item, parent, false);
        return new ViewHolder(view);
    }

    @Override
    public void onBindViewHolder(@NonNull ViewHolder holder, int position) {
        holder.textView.setText(Integer.toString(position+1));
    }

    @Override
    public int getItemCount() {
        return 30;
    }

    public class ViewHolder extends RecyclerView.ViewHolder {

        TextView textView;

        public ViewHolder(@NonNull View itemView) {
            super(itemView);
            textView = itemView.findViewById(R.id.textView);
        }
    }
}
7. RecyclerView in Activity XML
Now as our adapter is completed let's call it in the MainActivity where we will be showing the it.
First create a recyclerView in activity_main.xml with id as recycler_view
<?xml version="1.0" encoding="utf-8"?>
<androidx.constraintlayout.widget.ConstraintLayout xmlns:android="http://schemas.android.com/apk/res/android"
    xmlns:tools="http://schemas.android.com/tools"
    android:layout_width="match_parent"
    android:layout_height="match_parent"
    xmlns:app="http://schemas.android.com/apk/res-auto"
    tools:context=".MainActivity">


    <androidx.recyclerview.widget.RecyclerView
        android:id="@+id/recycler_view"
        android:layout_width="match_parent"
        android:layout_height="match_parent"
        app:layout_constraintEnd_toEndOf="parent"
        app:layout_constraintStart_toStartOf="parent"
        app:layout_constraintTop_toTopOf="parent" />
</androidx.constraintlayout.widget.ConstraintLayout>
8. 3 Objects to make it happen
Now that we have a recycler in xml and also a completed adapter class we need to setup three major objects to make this happen
In your MainActivity declare these global variables
public class MainActivity extends AppCompatActivity {

    RecyclerView recyclerView;
    LinearLayoutManager linearLayoutManager;
    SimpleRecyclerViewAdapter adapter;
.
.
.
Then inside onCreate method of your activity do as
        recyclerView = findViewById(R.id.recycler_view);
        linearLayoutManager = new LinearLayoutManager(this,RecyclerView.VERTICAL, false);
        adapter = new SimpleRecyclerViewAdapter();
then below it set the linearLayoutManager and adapter to the recycler as
        recyclerView.setAdapter(adapter);
        recyclerView.setLayoutManager(linearLayoutManager);
It's done! The code part is done, overall your MainActivity (or the activity you have your recycler_view will look like this
public class MainActivity extends AppCompatActivity {

    RecyclerView recyclerView;
    LinearLayoutManager linearLayoutManager;
    SimpleRecyclerViewAdapter adapter;


    @Override
    protected void onCreate(Bundle savedInstanceState) {
        super.onCreate(savedInstanceState);
        setContentView(R.layout.activity_main);
        getActionBar().hide();

        recyclerView = findViewById(R.id.recycler_view);
        linearLayoutManager = new LinearLayoutManager(this,RecyclerView.VERTICAL, false);
        adapter = new SimpleRecyclerViewAdapter();

        recyclerView.setAdapter(adapter);
        recyclerView.setLayoutManager(linearLayoutManager);

    }


}
Build the project and you'll now see a scrollable recycler-view
Assignment
Please upload this working project as assignment of recycler-view-part-I